Introduction
I ruined my favourite flannel shirt seeking to restore a popped button at 11 p.m.
once. Not ruined as in destroyed it but close enough I sewed the button on so crooked that it gapped every time I moved my arm. That was the night I finally sat down YouTube tutorial in one hand and needle in the other and actually learned how to do this properly.Turns out sewing snap buttons is not hard at all once someone shows you the actual technique instead of just saying just sew it on.
If you have got a coat cuff that won’t stay closed a baby onesie missing a snap a bag flap that keeps flopping open this guide is for you.I’m walking through exactly what I do now snap by snap based on years of fixing my own clothes and my kids and occasionally my mother in laws who insists I’m better at this than the tailor.
What Are Snap Buttons and Why Use Them
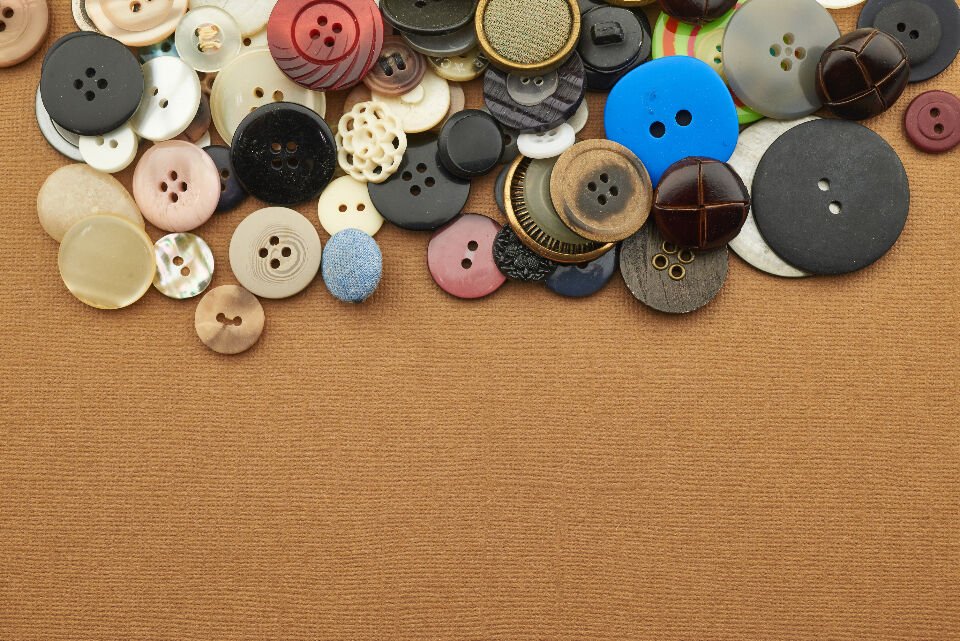
Snap buttons sometimes called press studs poppers depending on where you are from are those two piece metal plastic fasteners that click together instead of buttoning through a hole. One side has a small round knob, and the other has a matching socket. Just press them together and they snap closed with a soft little pop.
They are everywhere once you start noticing them. Baby clothes denim jacket cushion cover wallet even some formal shirt use them under a fake button placket for cleaner look. Honestly I think they are underused. They are faster to fasten than buttons they do not come undone accidentally the way some buttons do and they are way easier to sew on than you would expect.
Based on my experience snaps are also more forgiving for people with limited hand dexterity kids older folks anyone who struggles with tiny buttonholes. My grandmother replaced the button on about half of her cardigans with snap when her arthritis got worse. She still say it made getting dressed in morning so much easier.
Tools and Materials You’ll Need
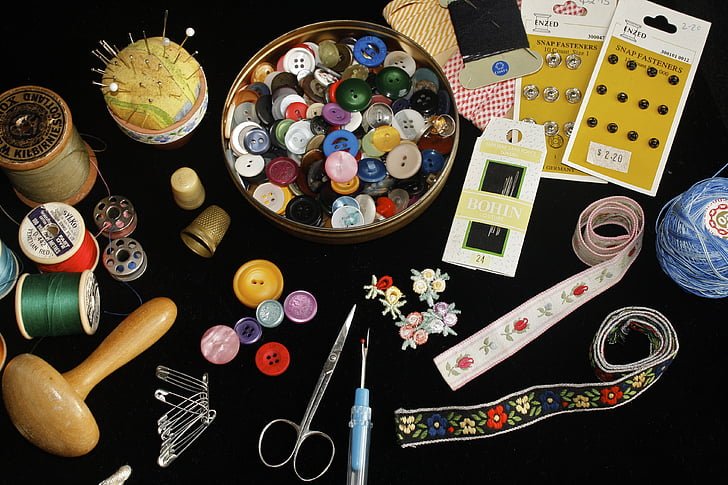
Before you sit down gather everything so you are not hunting for a needle mid project we have all been there digging through a junk drawer with one shoe on
Here’s what you actually need:
A snap button set the socket half and the ball stud half always buy them in matching pairs
A hand sewing needle with an eye small enough to fit through the snap’s holes
Strong thread polyester a heavy duty cotton thread holds up far better than regular sewing thread
Small sharp scissors
Straight pins fabric chalk for marking placement
A thimble optional but your fingertip will thank you
Beeswax optional running thread through it reduce tangling
You do not need a sewing machine for this. In fact most snaps are meant to be hand sewn because the fabric need to move around the raised prongs and holes which machines struggle with anyway.
Flat lay of sewing tools including needle thread spools and snap button sets on a wooden table sewing kit tools and snap buttons for hand sewing clothes
Types of Snap Buttons Explained
Not all snap are created equal and picking the wrong type is a mistake I made more than once early on. Here is a quick breakdown.
Sew On Snaps
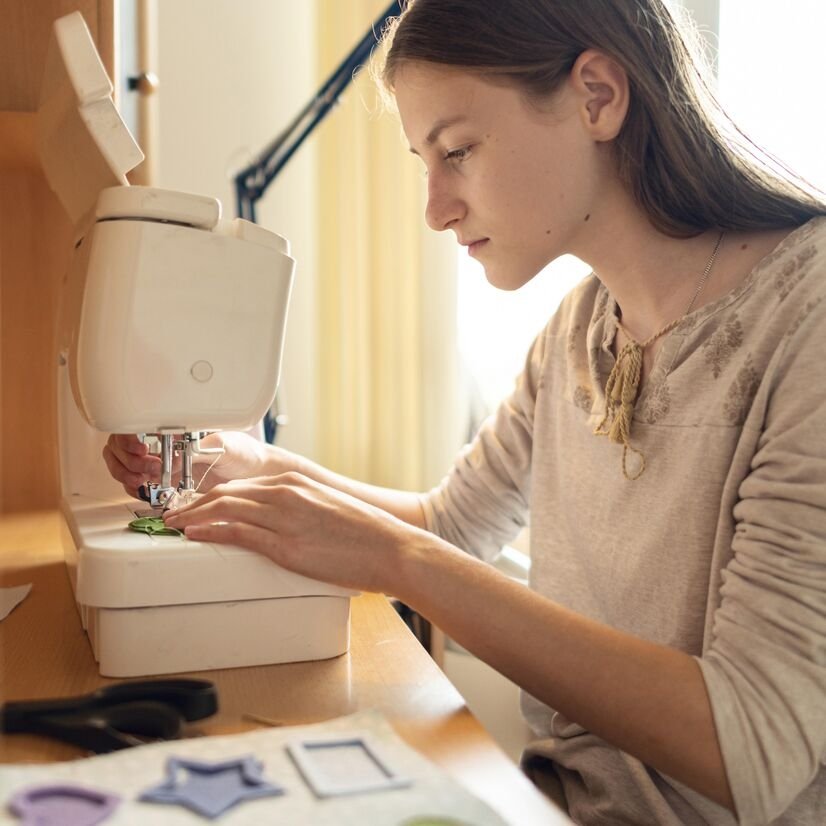
These are the classic type most home sewers use. They have small hole around the edge just like regular button so you can stitch them directly onto fabric. They come in size from tiny perfect for lingerie baby clothes to large great for coat and heavy denim.
Metal Prong Snap
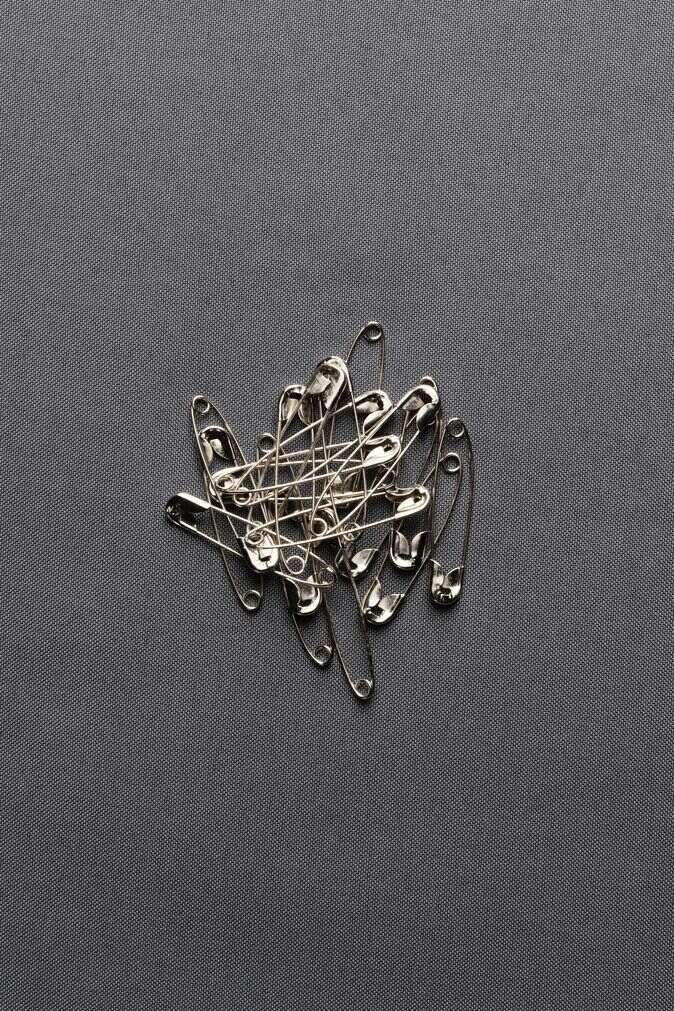
These require a snap setting tool plier rather than a needle and thread. You punch them through the fabric layers. They are common on jean and jacket but honestly a bit more of a commitment you need the right tool and mistakes are hard to undo.
Plastic Snap
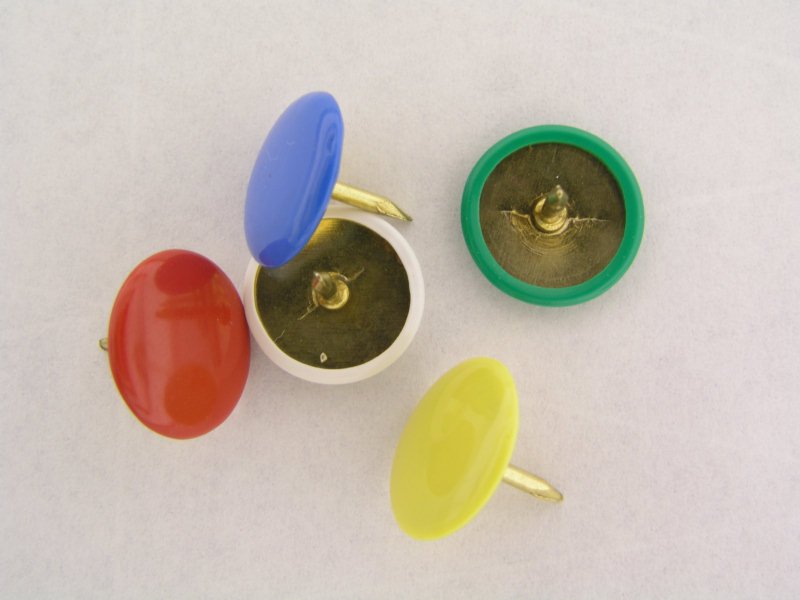
Lighter often used on baby clothing and swimwear because they do not rust and are gentler against skin. These can be either sew on or prong style so double check before you buy.
For this guide I’m focusing on sew on snaps since that is what most people actually need to fix at home and it is the skill that transfers to basically every snap-repair situation you will run into.
Step by Step. How to Sew a Snap Button
Okay here is the part you actually came for. I have broken this down into the exact steps. I follow every single time no shortcut skipped.
Step 1.Mark Your Placement
Lay your garment flat and close it the way it is supposed to sit. Mark where the socket half the flat side with the indentation goes on the overlapping piece of fabric and where the ball half goes on the underlying piece. A little chalk X works fine.
This step matter more than people think. Off center snap mean your garment sits crooked and that is genuinely one of the most annoying mistake to fix after the fact.
Step 2 Thread Your Needle
Cut about 18 24 inches of thread thread your needle and double it up tying a small knot at the end. Doubling the thread make the stitch far more secure snap take a lot of daily stress way more than a decorative button does.
Step 3 Anchor the Thread
Start from the wrong side inside of the fabric so your knot stays hidden. Bring the needle up through one hole of the snap.
Step 4: Sew Through Each Hole
Working around the snap stitch through each hole 3 4 time before moving to the next one. Most snaps have 4 hole so you are looking at roughly 12-16 small stitches total per snap half. Keep the stitche close to the fabric so the snap sits flat.
A few things I always keep in mind here:
Do not pull the thread too tight the fabric will pucker
Keep your stitch small and even big loopy stitches weaken over time
Make sure the needle does not go all the way through to the front of visible fabric unless it is meant to show like on denim
Step 5.Knot and Trim
Once all four hole are secured take your needle to the underside make a small knot close to the fabric and trim the excess thread.
Step 6.Repeat for the Matching Half
Do exact same process for other snap piece on the opposite side. Then test it press the two halves together and check that garment lies flat and closes properly.
Close up of hands sewing a snap button onto denim fabric with needle and thread hand sewing snap button on fabric step by step tutorial
Common Mistakes to Avoid
I have made basically all of these at some point so let me save you the trouble.
Misaligning the two halves.Always mark and pin both piece before sewing either one. Sewing one snap perfectly and then eyeballing the second is how you end up with a gap.
Using thread that is too thin. Regular thread snap under the repeated tension of opening and closing. Go heavier than you think you need.
Not knotting securely. A loose knot means your snap pops off within a week usually at the worst possible moment.
Stitching through to the visible side. Unless it is intentional like on jeans where topstitching is part of the look keep your stitches on the inside layer only.
Rushing the spacing. If you are placing multiple snaps down a placket uneven spacing looks sloppy and throws off how the garment hangs.
After testing this myself on probably thirty different garments over the years I can say the alignment mistake is by far the most common and the most annoying to fix after the fact.
Tips for Making Snaps Last Longer
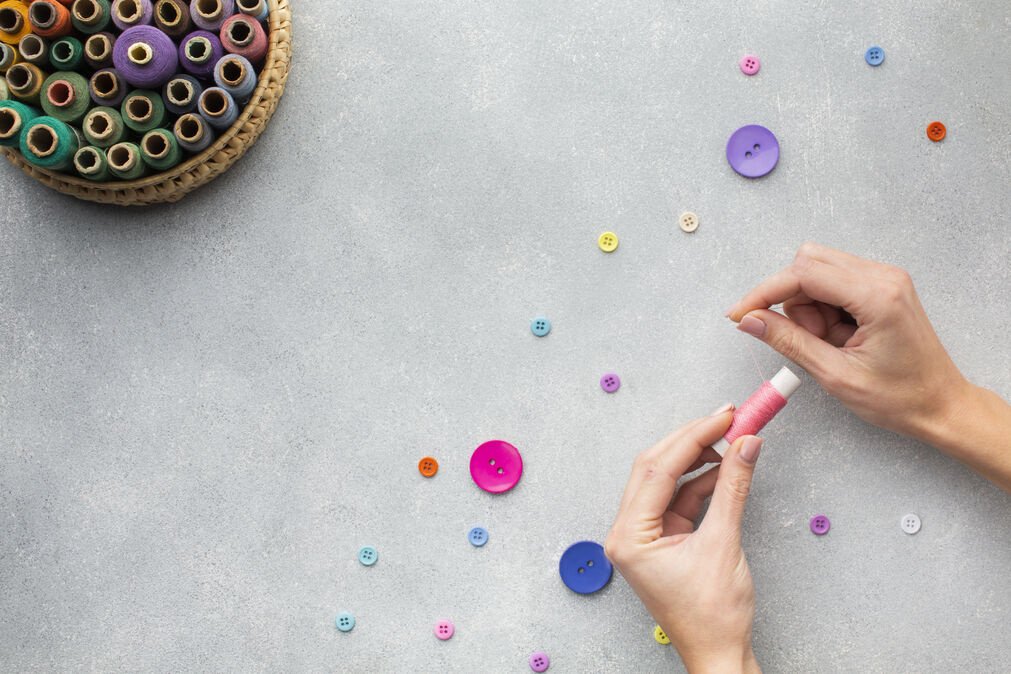
A few small habit go a long way here:
Reinforce heavy use snaps like on kids’ clothes bags with an extra pass of stitching around each hole
Use a fabric appropriate needle thick canvas need a sturdier needle than light weight cotton
Avoid ironing directly over plastic snaps since heat can warp them
Check snap periodically on frequently worn item and re stitch at the first sign of looseness rather than waiting for it to fall off entirely
Honestly spending an extra two minutes reinforcing a snap now saves you from redoing the whole thing in a month. I learned that lesson on a diaper bag that saw daily abuse the reinforced snaps are still going strong three years later.
When to Choose Snaps Over Regular Buttons
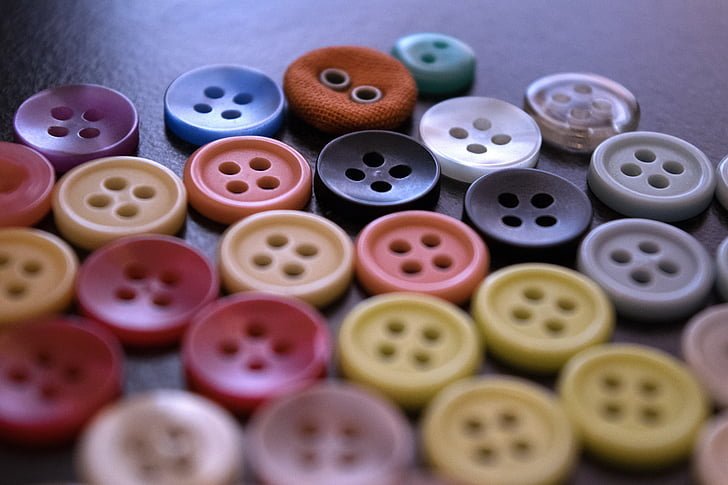
This is not always an obvious choice so here is my honest take. Snaps work best when:
You need quick easy fastening baby clothes outerwear costumes
The area gets a lot of stress or movement
You want a cleaner look without visible buttonholes
You are repairing something and don’t want to redo a buttonhole
Regular buttons still win for formal wear anything where the button itself is decorative situations where a snap pop sound would be inappropriate think dress shirts blazers. It really comes down to function versus formality.
Final Thoughts
Sewing snap button is one of those small skill that feel intimidating right up until you actually. Try it and then you wonder why it took you so long to learn. Once you have done a couple muscle memory take over and you can fix a popped snap in under five minutes without even thinking about it.
I still keep a little sewing kit in my kitchen drawer just for this it is saved more shirts jackets and diaper bags than I can count. Give it a shot on an old garment first if you are nervous and do not stress about perfection on your first try. Mine definitely were not perfect either.
Finished garment showing a neatly sewn snap button closure on a coat placket neatly sewn snap button closure on coat fabric
Question answers
1.What is the best thread to use for sewing snaps.
Polyester thread heavy duty cotton thread both work well because they resist stretching and breaking under repeated tension.Regular all-purpose thread can work in a pinch but it tends to wear out faster on snap compared to buttons since snaps get pulled apart and pushed together constantly during daily use.
2.Can I sew a snap button using a sewing machine instead of by hand.
Technically some machine can handle it with a special foot but most home sewers find hand sewing far more reliable and precise.The fabric needs to move slightly around the raised parts of the snap which is tricky for a machine to manage cleanly so hand sewing remains the go to method for most repair.
3.Why does my snap button keep popping off after I sew it.
This usually comes down to either weak thread not enough stitches per hole a loose final knot. Doubling your thread using at least 3 4 stitch per hole and finishing with a tight secure knot on the inside of the fabric should solve the problem in almost every case.