Introduction,
The first time I tried fixing a snap on my son’s jacket, I pressed way too hard and ended up flattening it like pancake.
Then I somehow put the other half on backwards. On the third try using the last spare snap in the packet. I finally got it right. I stood there with a hammer in one hand and the jacket in the other, wondering, “Why does this seem so much harder than it should?”
Turns out, it is actually pretty simple.
It is just picky. Once you know which piece goes where and how much force to use, attaching snap buttons by hand takes about a minute. This guide covers everything I wish I’d known that day.
What Snap Buttons Are and Why They’re Worth Learning.
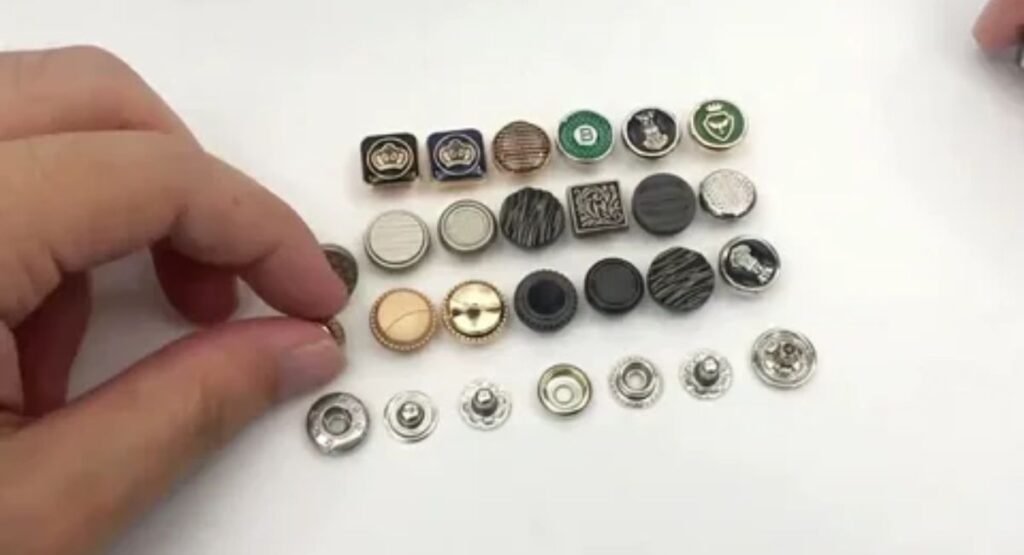
A snap button, also called a press stud or popper, is a two-part fastener. One half has a raised stud, and the other has a socket that grips it. Press them together and they click. pull them apart and they release.
You will find them on baby clothes denim jackets rain gear, bag, pet accessories, and craft project. They are fast to use and they do not need a buttonhole.
So why do it by hand? After using a few methods, here is what I like about it:
It is cheap. A basic setup costs less than one tailor repair.
It is portable. You do not need sewing machine or a workshop.
It’s forgiving on small jobs. Replacing one broken snap doesn’t require a special trip.
It’s satisfying. There is a small thrill in that first clean click.
The downside is that you only get one shot per snap. Once a snap is set removing it usually damages the fabric. That is why understanding the process first really pays off.
The Main Types of Snaps.
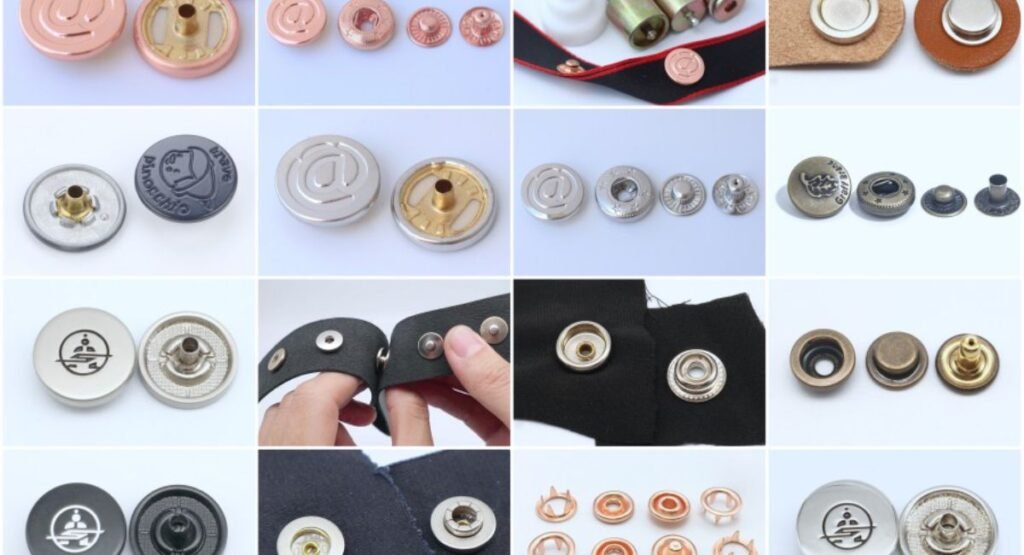
Not all snaps are attached same way so identify yours before you start. Here are the three you are likely to meet.
Plastic Snaps (Resin Snaps).
These are the colorful ones common on baby items and bibs. They usually come with small plastic setting tool or pliers. Because the prongs are plastic, they suit lightweight cotton, fleece, and knit fabrics well. They are gentle on fabric and rust-proof.
Metal Prong Snaps (Ring Snaps).
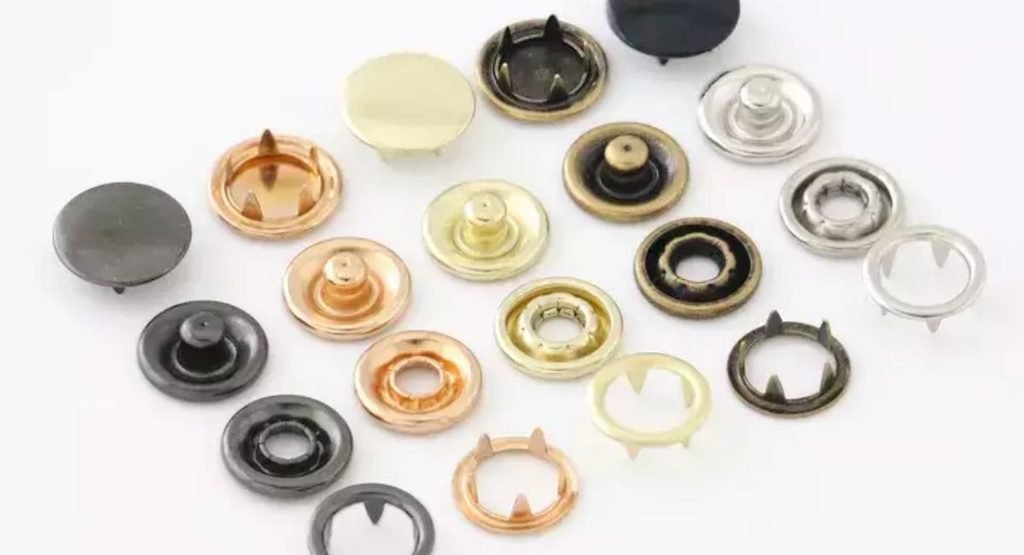
These have small prongs that pierce fabric and fold over on the back. They are popular for shirts light jackets, and craft projects. You typically do not need to pre-punch a hole although a tiny starter hole helps with thicker fabric.
Metal Line 20 or Line 24 Snaps (Post Snaps).
These are the heavy hitters used on leather, canvas, and thick denim. They have a post that goes through a punched hole and you set them by hitting a setting tool with a hammer. “Line 20” and “Line 24” refer to the size. Line 24 is bigger and stronger.
Check the packaging or measure the diameter of your snap. Matching your setter to the snap size matters more than anything else.
Tools and Materials You’ll Need.
Snaps in the right size and type
A setting tool or die set matched to your snap type (or the plastic pliers that came with your kit)
hammer or mallet. I prefer a rubber or rawhide mallet because it is less likely to dent metal.
A hard, flat surface. A concrete floor or a heavy anvil block work better than a wobbly table.
A hole punch or awl for post snaps or thick material.
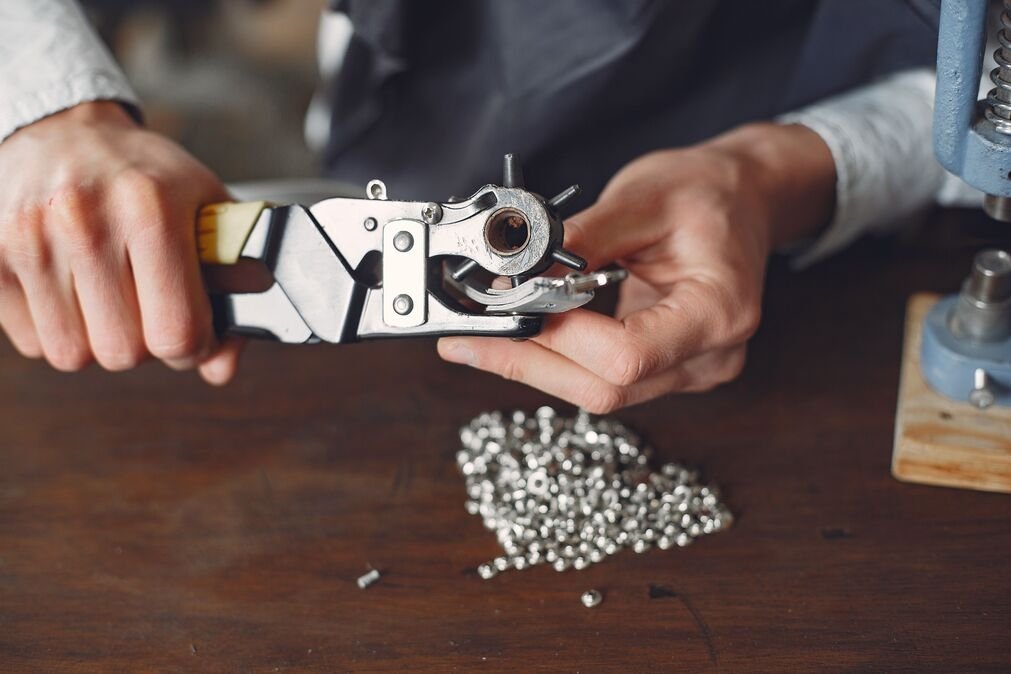
A fabric marker or chalk
Scrap fabric for practice
Interfacing or a small fabric patch for thin or stretchy material.
A flat-lay photo of snap buttons, a setting tool, a mallet, and a fabric marker on a wooden table.: tools and materials for attaching snap buttons by hand
One thing I learned the hard way: work on a hard surface. Setting snaps on a soft table absorbs the force and the snap ends up loose or crooked. I now do mine on a small piece of granite I got cheaply, and my success rate jumped noticeably.
Understanding the Four Parts
This is the part that confused me. A complete snap has four pieces:
Cap: the pretty visible top side of the socket half.
Socket: the female part that grips the stud.
Stud: the male part with the raised bump.
Post or Eyelet: the bottom piece that locks the stud in place.
The socket half is made of the cap and the socket. The stud half is made of the stud and the post.
Here is the general rule: the cap and the stud are the pieces people see. The cap sits on the outside of one side of your garment and the stud sits on the outside of the other. The socket and the post hide inside or underneath.
Lay the pieces out in front of you in pairs before you begin. It takes ten seconds, and it prevents most beginner errors.
Step-by-Step: Attaching Snaps by Hand.
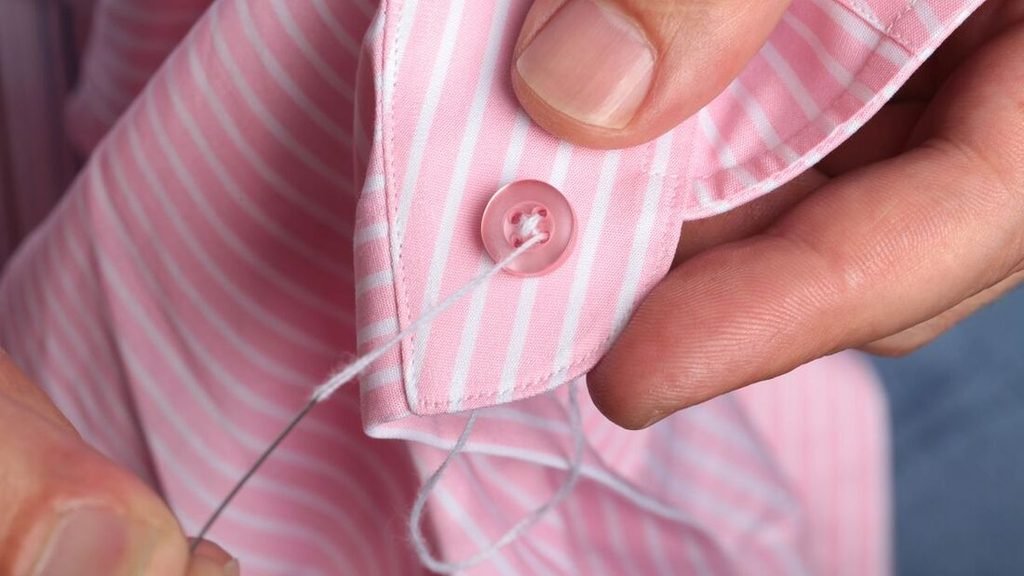
I’ll walk through the method for metal post snaps, since they’re the most common hand-set type. The plastic and prong versions follow the same logic with slightly different tools.
Step 1: Mark Your Placement.
Decide where your snaps will sit and mark them with chalk. Measure carefully. Snaps that are even a few millimeters off will make a placket look crooked.
For a row of snaps use a ruler and keep the spacing consistent. On a shirt front, I usually go about 2.5 to 3 inches apart but adjust for the garment.
Step 2: Reinforce the Fabric.
If your fabric is thin stretchy or loosely woven, add patch of interfacing a small scrap of sturdy fabric behind snap location. Without it the snap will eventually rip through. Based on my experience this one step is what separates snaps that last years from snaps that fail in a week.
Step 3: Punch the Hole.
For post snaps punch a small hole at each mark. It should be just enough for post to slide through. Too big and the snap spins loosely. Too small and fabric bunches up.
Prong snaps and plastic snaps often skip this step but check the packaging.
Step 4: Set the Cap and Socket.
Push the cap’s post up through the fabric from the outside. On the inside, place the socket over the post so it faces the correct way. Place the assembly on your hard surface with the cap side down in the concave die.
Position the setting tool’s rounded tip over the post, and give it a firm, controlled tap with your mallet. Start gently. You can always hit again, but you can’t un-flatten a crushed snap.
Step 5: Set the Stud and Post.
On the opposite side of your garment, push the post through from the underside. Place the stud on top, with the raised bump facing up and out. Set it with the correct die, using the same firm, controlled taps.
Step 6: Test It.
Snap the two halves together. It should click with bit of resistance and hold when you gently tug. If it feels loose or spins freely the setting was too light. If it looks crushed or won’t close the setting was too heavy.
Close up of a hand holding setting tool above a metal snap button on denim: setting metal snap button on denim with a hammer and setting tool
Common Mistake and How to Fix Them.
I have made almost all of these. Here is what to watch for.
Hitting too hard. This is the classic one. Overdoing it flares the post unevenly and can split the cap. Use three or four moderate taps rather than one massive swing.
Hitting too softly. The opposite problem. A snap that spins loosely usually needs another tap or two.
Using the wrong die. A setter that does not match your snap size will mangle the post. Always double check.
Orienting the pieces backwards. If the stud ends up on the same side as socket the two halves won’t meet properly. Lay everything out first.
Skipping the practice run. I know it is tempting. But try your snaps on a scrap of the same fabric first. It saves real frustration and real money on ruined garments.
Working on a soft surface. Your snap will feel “off” no matter how carefully you set it.
If you do flatten crooked-set a snap use small wire cutters a seam ripper to carefully cut away the damaged piece. Then move over slightly and try again or patch behind the damaged area to reinforce it.
Tips for Different Fabrics.
The fabric changes everything, so here is what I have found works.
Lightweight Cotton and Knits.
Use plastic or prong snaps and always add interfacing. Without support, these fabrics stretch and tear around the snap.
Denim and Canvas.
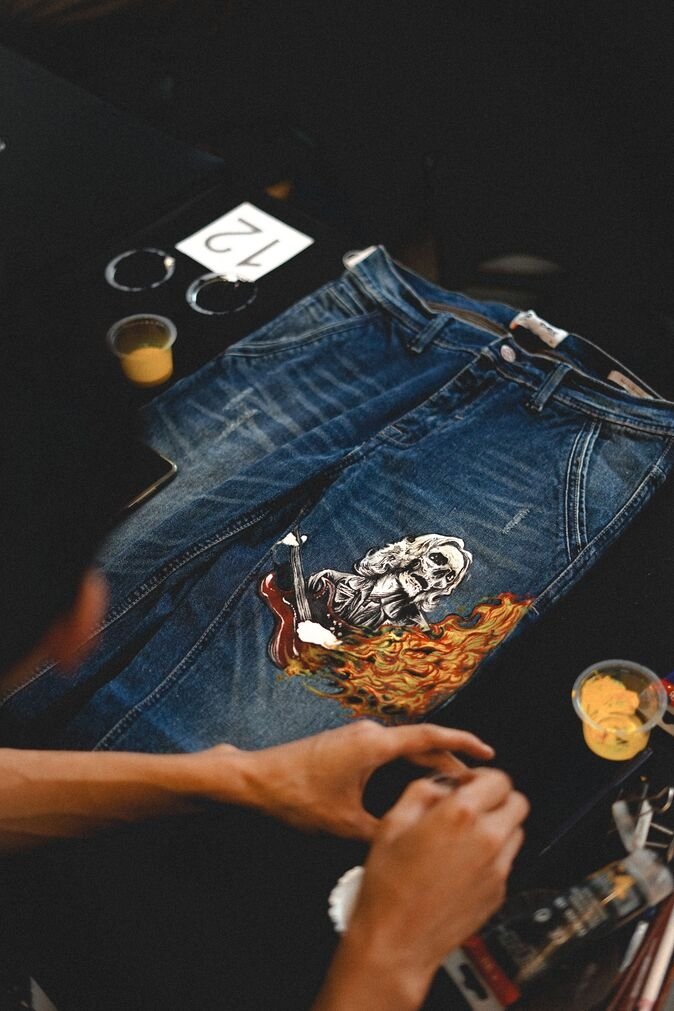
Line 24 metal post snaps are your friend here. Use a proper hole punch and set them firmly. Thick fabric needs a longer post so match the post length to the fabric thickness.
Leather.
Punch clean holes and use a rawhide mallet if you have one. Leather is forgiving of a good setting but it does not hide mistakes. Practice on a scrap first.
Fleece and Stretchy Material.
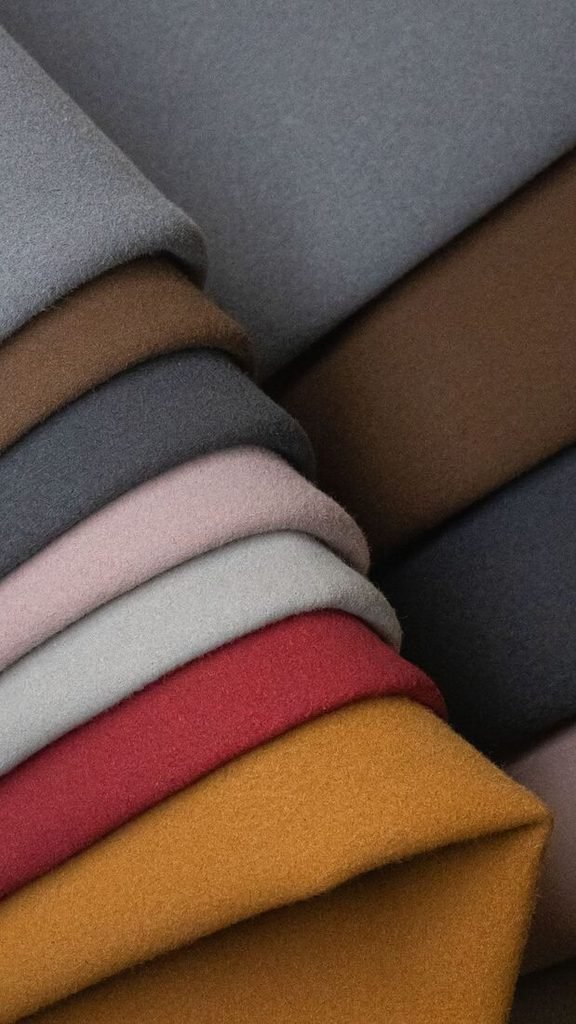
Add a stabilizing patch. Fleece is thick but soft and it tends to compress under the snap unless there is something firm behind it.
A quick rule I follow: the thicker the fabric the longer the post. And the thinner the fabric the more reinforcement it needs.
Where Hand-Set Snaps Are Heading.
Hand set snaps are not going away. If anything the DIY and repair movement has given them a second life. More people are mending clothes instead of replacing them and a snap replacement is one of the easiest repairs to learn.
Tool kits are also getting better. Affordable starter sets now include matched dies punches, and even small anvil block which is a big step up from the old “hammer and hope” approach. Plastic snaps in more color and finishes are also making it easier to match custom projects from reusable bags to handmade baby gear.
Machines and hand presses will always be faster for high volume. But for single repair or a handful of snaps doing it by hand remains the sensible choice.
Final Thought.
If you take one thing from this guide let it be this: practice on scrap first. That single habit would have saved me that ruined jacket and lot of muttering.
Attaching snap button by hand is really about few small things done right. Know your snap type use the correct tool work on a hard surface, and use controlled force. Everything else is just repetition.
The first snap you set might be a little wonky. That is normal. By the fifth or sixth, you will be doing it without thinking, and you will start noticing all the things around your house that could use a snap. I promise you will find more projects than you expected. Good luck and enjoy that first satisfying click.
Question Answers.
1.Do I really need special tools to attach snap buttons by hand?
Honestly, yes. You can try to wing it. but a setter that matches your snap size is what make the difference between a snap that holds for years and one that pops off in a week. Some plastic kits come with pliers instead and those work fine too.
2.Can I attach snap buttons without a hammer?
You can, depending on the snap. Plastic snaps and prong snaps usually get squeezed shut with pliers so no hammering at all. Metal cap snaps are different. Those generally need a hammer or small hand press. Check what you bought first, then use the tool it was made for.
3. Why is my snap spinning or feeling loose?
This happens to almost everyone at first. Usually the snap just need another tap or two or the hole was punched a bit too big. If it still wobbles after that the post is probably too short for your fabric and a longer one should fix it.
4.Can I take a snap off and reuse it?
I would not count on it. Removing a set snap usually bends the post or tears the fabric so it rarely ends well. Cut the old one out carefully use a fresh snap, and stick a small patch behind the spot so the fabric stays strong.